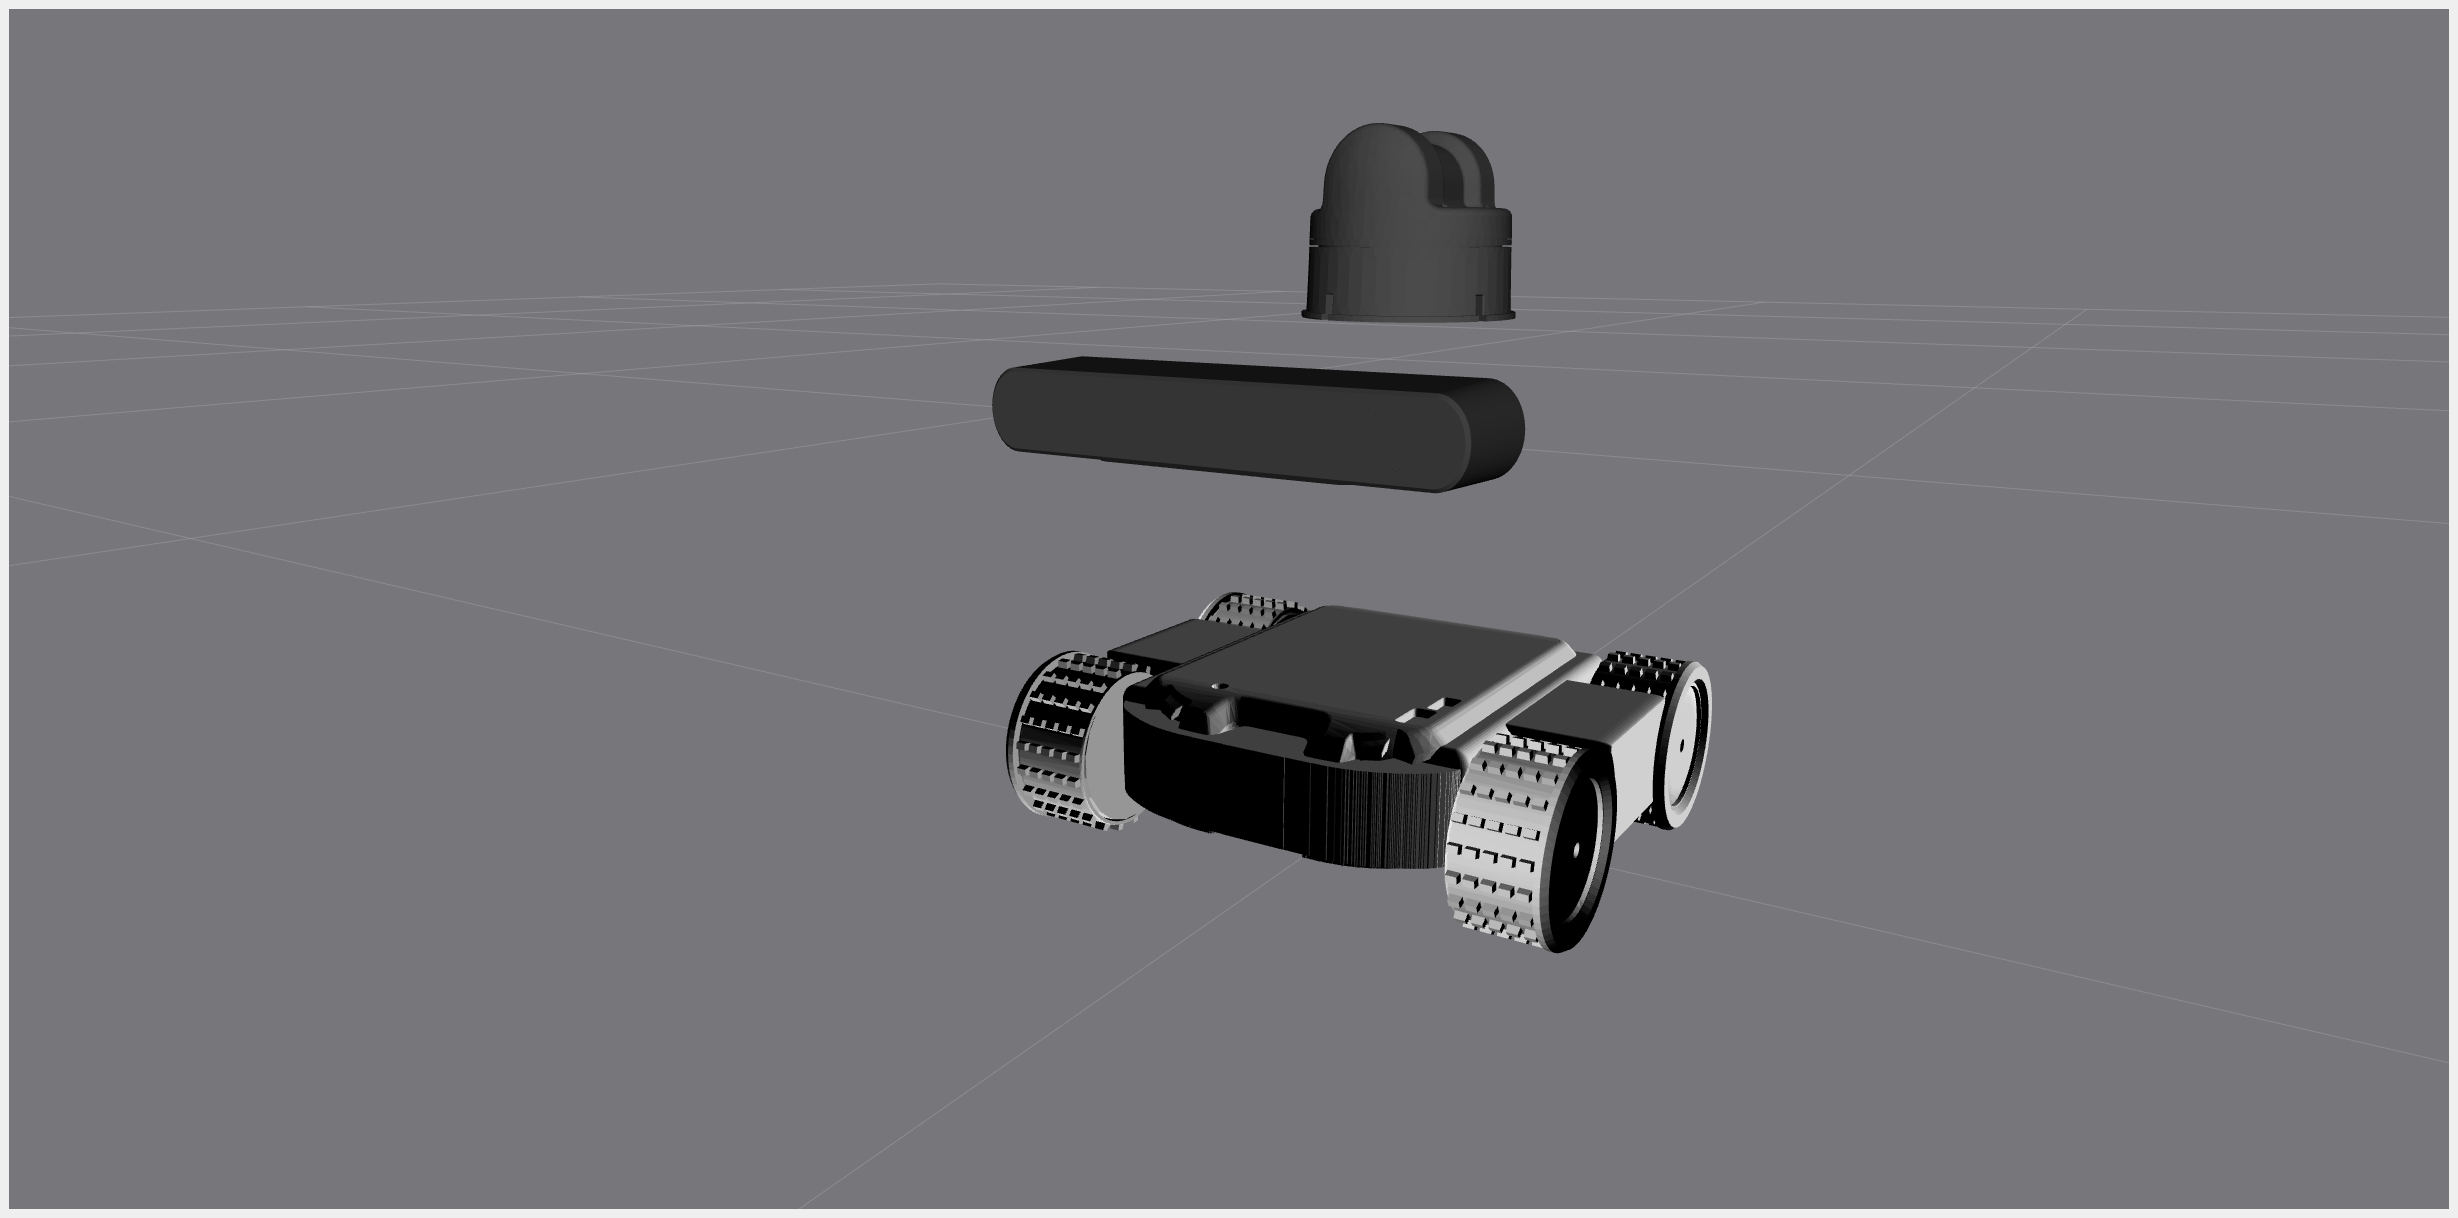
Let's put everything together
This article belongs to the series “Create Sphero RVR+ simulation model” and will walk you through the essential steps to create the rover’s model.
I assume you have already gone through the previous posts
If you are reading this post, I assume you already have gone through the previoous posts in the series to set up the simulation models for the rover, ZED 2i, and the Unitree LiDAR. If you haven’t, please review those articles before proceeding here. Much appreciated.
What you will need
Now let’s make a checlist of what you already have up to this stage:
- ROS 2 package
unitree_lidar_description - ROS 2 package
zed2i_ros2_description - ROS 2 package
sphero_rvr_description
And now, the next step is up to you. I opt to work with the same sphero_rvr_description package but you can also go with creating a new ROS 2 package to load in everything from there.
The main steps we will take
Since we already have the URDF files of the corresponding parts, we simply have to include the files and then call the components and link them by <joint> elements. That is,
- Include the related URDF files from the different packages
- Use the
<joint>elements to link these links together in a coherent TF tree
I know, but how?
In your description package, under the model/ directory, add a new URDF script whole_model.urdf.xacro. In this file, paste the following:
<?xml version="1.0"?>
<robot name="Rover_with_sensor" xmlns:xacro="http://ros.org/wiki/xacro">

    <!-- include Unitree L1 LiDAR model -->
    <xacro:include filename="$(find unitree_lidar_description)/model/unilidar_l1.urdf.xacro" />

    <!-- include StereoLabs ZED 2i model -->
    <xacro:include filename="$(find zed2i_ros2_description)/model/zed2i_urdf.xacro" />

    <!-- include Sphero RVR+ model -->
    <xacro:include filename="$(find sphero_rvr_description)/model/sphero_rvr.urdf.xacro" />

    <xacro:property name="robotname" value="Sphero_RVR+" />

    <!-- Unitree L1 LiDAR parameters -->
    <xacro:arg name="l1_origin_x" default="0.0" />
    <xacro:arg name="l1_origin_y" default="0.0" />
    <xacro:arg name="l1_origin_z" default="0.2" />

    <!-- ZED 2i parameters -->
    <xacro:arg name="camera_name"   default="zed2i" />
    <xacro:arg name="joint_x" default="0.1"/>
    <xacro:arg name="joint_y" default="0.0"/>
    <xacro:arg name="joint_z" default="0.15"/>


    <!-- base_link -> LIDAR -->
    <joint name="unilidar_joint" type="fixed" dont_collapse="true">
        <origin xyz="$(arg l1_origin_x) $(arg l1_origin_y) $(arg l1_origin_z)" rpy="0 0 0" />
        <parent link="${robotname}_base_link" />
        <child link="unilidar_lidar" />
    </joint>

    <!-- base_link -> ZED 2i -->
    <joint name="zed_2i_joint" type="fixed" dont_collapse="true">
        <origin xyz="$(arg joint_x) $(arg joint_y) $(arg joint_z)" rpy="0 0 0" />
        <parent link="${robotname}_base_link" />
        <child link="$(arg camera_name)_camera_link" />
    </joint>

</robot>
The content should be self-explanatory. First we load in the corresponding URDF files of the components, and then simply define the joints to associae them one from another. Or should we say, associate the sensors in relationship to the rover’s chasis.
Now don’t forget the launch file
The launch file is still the same, except that this time we are going to load whole_model.urdf.xacro. You can either use the already existing launch file and simply change the loaded in URDF file path, or you can start fresh with the launch file whole_robot.launch.py and paste the following content in it:
#!/usr/bin/env python3

from pathlib import Path
from launch import LaunchDescription
from launch.substitutions import Command
from launch_ros.actions import Node
from launch_ros.substitutions import FindPackageShare

def generate_launch_description():
    pkg_path = FindPackageShare('sphero_rvr_description').find('sphero_rvr_description')
    urdf_dir: Path = Path(pkg_path) / 'model'
    xacro_file_path = str( urdf_dir / 'whole_model.urdf.xacro' )
    rviz_config_path = str( Path(pkg_path) / 'launch' / 'single_robot_test_view.rviz' )

    assert Path(xacro_file_path).exists(), f'URDF file not found at {xacro_file_path}'
    assert Path(xacro_file_path).is_file(), f'URDF file {xacro_file_path} is NOT a file'

    return LaunchDescription([
        # Robot State Publisher Node
        Node(
            package='robot_state_publisher',
            executable='robot_state_publisher',
            name='robot_state_publisher',
            output='screen',
            parameters=[{'robot_description': Command(['xacro ', xacro_file_path])}],
            arguments=[xacro_file_path]
        ),
        Node(
            package='joint_state_publisher',
            executable='joint_state_publisher',
            name='joint_state_publisher'
        ),
        Node(
            package='rviz2',
            executable='rviz2',
            name='rviz2',
            output='screen',
            arguments=['-d', rviz_config_path]
        )
    ])
Note, here since we want to successfully load in all the variables and parameters across various ROS 2 pakcages, we are going to build them altogether:
colcon build
and run:
ros2 launch sphero_rvr_description whole_robot.launch.py
As already mentioned, I am using the same package sphero_rvr_description to define the whole robot model, but you may have the URDF files elsewhere. It’s all up to you.
Once you run the launch file, you may see the model of the whole robot body appear on Rviz 2. Congratulations, you made it! Now you can start fine-tunning the parameters to suit your need.
Conclusion
The series “Create Sphero RVR+ simulation model” ends with this article. In this post, we go through the last step to call all components models together with one last URDF file and run it. Congratulations! You now learned all the essentials actions to assemble a robot however you please. Stick around as I will roll out more posts of the side project as I go along.